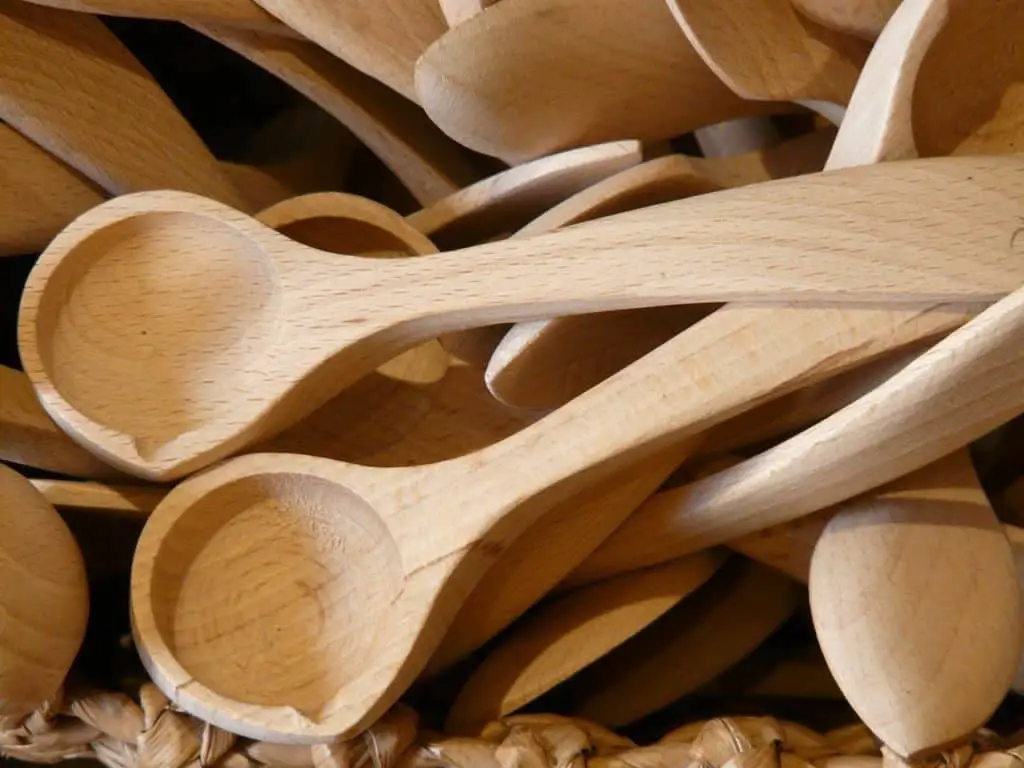
How to carve a wooden spoon
If like most beginners, you are wondering how to carve wooden spoons, this is the article for you. The great thing is that spoons are one of the easiest things to carve. It is one of the first projects my dad and I worked on. There is a good learning curve for those still working on their skills. This post will take you through the process of carving a wooden spoon step-by-step. By the end, you should have your spoons and enough knowledge to teach someone else. Let’s get started whittling spoons.
Tools required for this project
Here is a list of the tools you will need for this project. This is not an exhaustive list, and not every tool is required for each step.
- Chisel
The first thing you must do is get yourself a good chisel. I suggest an 8mm (11/4 inch) chisel and a 5mm (3/16 inch) chisel. You will make this article with the latter; however, I occasionally used my 8mm chisels. [See our post about the best carving wood chisels.] - Sandpaper
Sandpaper is used to smooth the wood after it is cut out in step #5. - Mallet
A mallet is used to tap the chisel into the wood. - Pencil
I would suggest an HB pencil because it is difficult to break and easy to erase. - Ruler
A ruler is essential for measuring the spoon and ensuring it meets your needs. Without it, you will have a hard time getting a straight cut. - Wood
You will need to get some wood for the spoons. I would suggest using hardwood. Some of the best are Oak, Ash, and Maple. Avoid softwoods like Pine or Basswood because they won’t hold up to carving and, frankly, aren’t very nice, in my opinion. A home improvement store like Lowe’s or Home Depot is an excellent place to buy your wood. [See our post about the best wood for carving wooden spoons] - Sanding Block
Sanding blocks shape the spoon after cutting it out in step #3. The blocks I used are called Veritas Rounding and Beveling Handles. - Bench or Table Vice
If you don’t have one, they aren’t essential for this project, but they will make your life so much easier that I would suggest picking one up, especially for carving spoons and bowls.
Steps to carving wooden spoons
Spoons can be made from any wood you like, but they are most commonly made from oak, cherry, apple, or maple.
The steps involved in making these spoons are as follows:
- Get all your wood cut out; then, sand down those edges. This is a crucial step, and I recommend doing it the night before you start any project or at least the morning you plan on starting.
- Cut out the end of your spoon (12). This is done on an 8mm chisel.
- Cut out the spoon (11). This is done with the 5mm chisel. If you are new to carving, I recommend doing this step on a spare piece of wood as your first project. It is easier to cut out and get used to than a spoon. This also will ensure that you have the right tools for the job and do not hurt yourself or break your tools in any way – because no one likes that.
- Round off the corners (10).
- Sand down the spoon (9) to prepare it for carving.
- Carve out the spoon (8).
- Finish sanding and smoothing the spoon (7).
This is essential in getting a smooth finish on your spoon and correcting any of the issues I have mentioned previously.
Sand down those edges
You probably guessed this one. Sand, sand, and sand, some more! Don’t forget to change your grit so that you do not have any rough spots on the spoon that will be difficult to clean off later. If there are rough spots, use a polishing stone to smooth them out.
Cutting out the spoon
This step is done with an 8mm (11/4 inch) chisel. As mentioned above, I used my 8mm chisels occasionally, but I recommend sticking with the smaller chisel to ensure you have a good start. It will help if you cut out the spoon in the shape of a little bowl.
The spoon is cut out using minimal pressure. Do not use excessive force with the chisel, as you could cause permanent damage if you go overboard and cut straight through the wood. If unsure about using your tools, talk with an expert before trying other projects.
Cutting out the end of the spoon
This step is done with a 5mm (3/16 inch) chisel. The end of the spoon is cut out by moving the chisel around in a circle on one side of the spoon. This takes quite some time to get right, and I recommend getting it right on your first try to work faster in your subsequent projects. Also, if you plan on making spoons, bowls, etc., you should practice this step as much as possible.
Rounding off the corners
This step involves 4 (4.5, 5mm) round-off chisels. This step is done to ensure that the spoon is not too sharp and is easy to hold while eating.
The first thing you want to do in this step is mark off where you will be rounding off on both sides of the spoon. Hold one of the 4mm chisels in your dominant hand and angle the spoon with the edge of the chisel facing away from you. Slide it down the corner, making sure to maintain a 90-degree angle. Use minimal pressure and make several passes until you have rounded off that corner. Do not push down too hard, or you could damage your spoon.
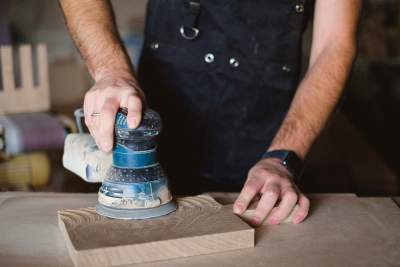
Sand down the spoon
This step removes any rough surfaces left from the chisel and gives a finish to the spoon. The sanding should be done with a sander with a 600-grit or 1000-grit belt. You will likely need multiple passes with different grits, starting with the lowest and working to the highest.
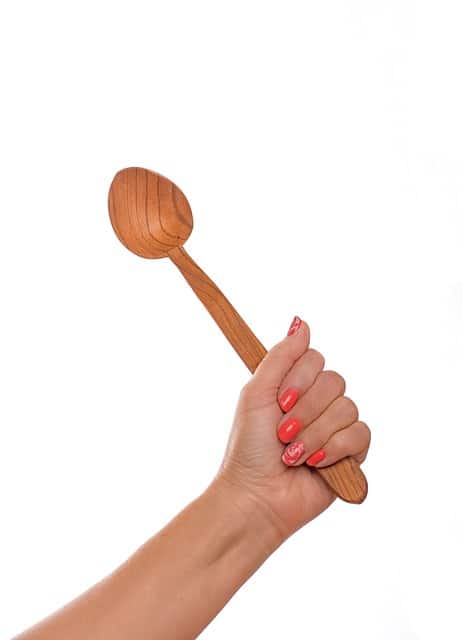
Finish sanding, polishing, and giving it a final polish
This part is also known as “finishing”, As mentioned previously, a higher grit might be required to remove any scratches left by the sanding process. However, even with low-grit sandpaper, you can still make a good shine if you do not get any dust in between. The polishing part is based on how smooth the spoon feels. The finer the grit that you use, the softer it will feel.
The final polish is done using a piece of leather or felt and some liquid polish. If you have not used a spoon before, I recommend starting with a medium grit and working up to fine grit. Usually, you want to use a lower-viscosity oil stick. Rub firmly with the felt/leather between your fingers, and then apply a few drops of the oil stick to the spoon’s surface. Rub gently on both sides with your fingers to ensure it is evenly applied. You must let it dry for a day or two before using it.
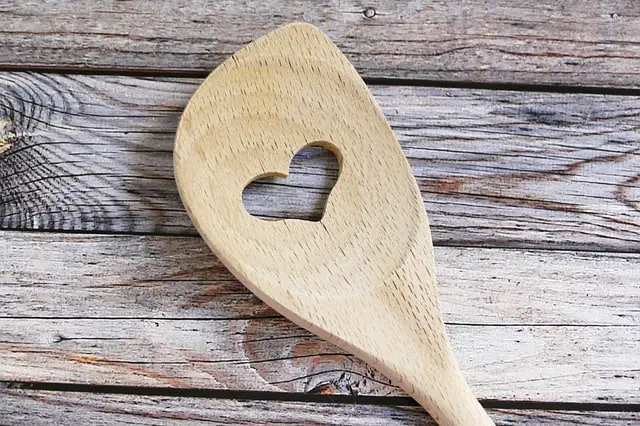
Decorating Your Spoon
Once your spoon is polished and ready to be used, it is time to add some design and personality to it. A brass spoon can have many different designs on it.
The first way is by using a method called electroforming. You use electrical current to coat something with the metal you want.
The second primary way of decorating spoons is through engraving blades. The blades are used to carve designs into the spoon. You can add different enamel paint colours to your brass spoon or knife.

- Grain and Sheen: Teak Oil versus Danish Oil Uncovered - January 10, 2024
- The Cherry on Top: Crafting the Perfect Cutting Board - January 9, 2024
- Polyurethane Water-Based vs Oil-Based: Choosing the Right Finish - January 8, 2024
