Carving Roses in Wood
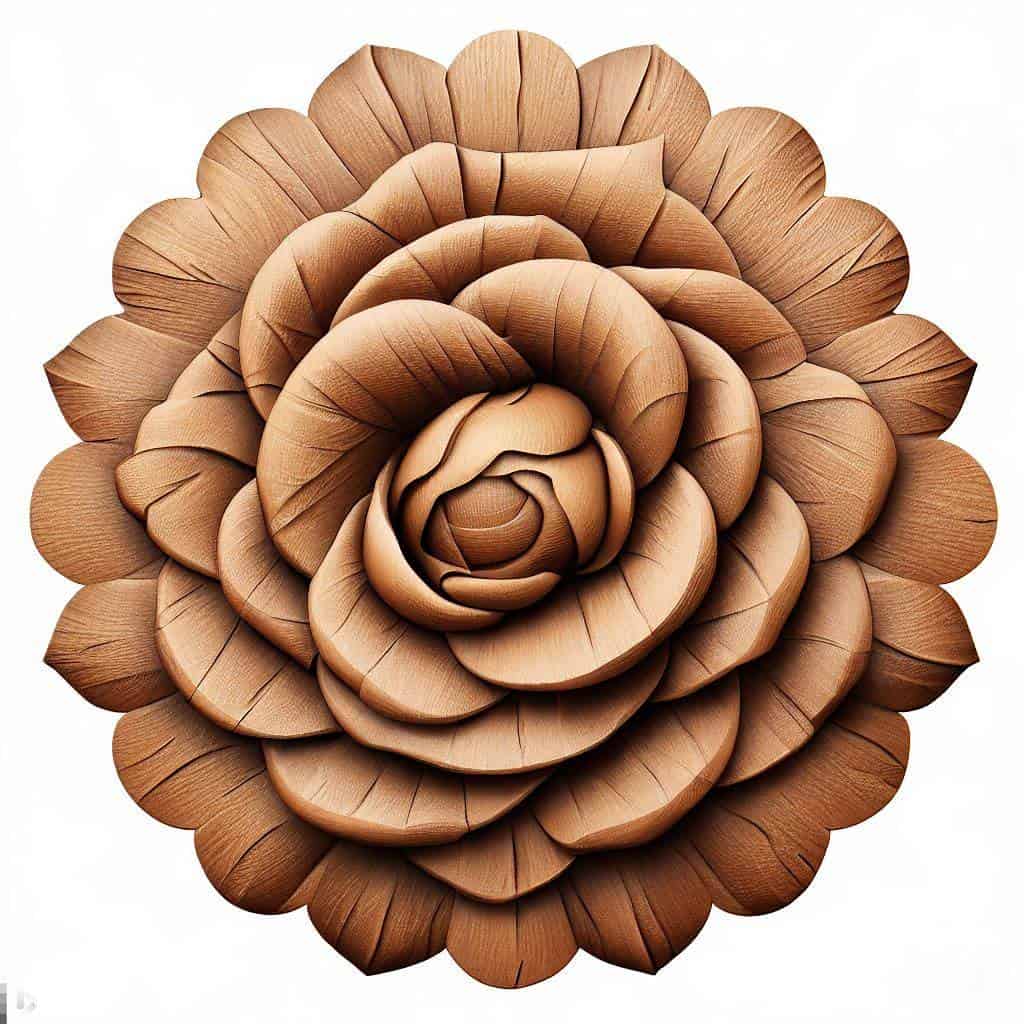
Would you like to make a beautiful wooden rose for someone special or just for yourself? Carving a rose out of wood can be a challenging but incredibly rewarding experience that allows you to show off your creativity and craftsmanship. With the right tools, techniques and patience, you can turn a simple wood block into a beautiful, intricate wooden rose that will impress.
Perhaps you have always been drawn to the beauty of roses and want to create a timeless work of art that captures that essence. Or perhaps you have a loved one who adores these flowers, and you want to give them a unique and personal gift they will remember for years. Whatever your motivation, carving roses in wood can be an incredibly fulfilling and fun hobby.
I still remember the time when I first started carving roses in wood. I was intimidated by the complexity of the design and was not sure I could do it. But I persevered, and with the guidance of experienced carvers, I created a beautiful wooden rose that made me feel accomplished and proud of my work.
In this guide, I’ll show you some of the best techniques and tips for carving roses in wood, including videos demonstrating the step-by-step process. Whether you are an experienced carver or a beginner, this guide is designed to help you achieve beautiful results and bring your wood roses to life. So get started and turn your creative vision into reality!
Types of roses
Before we answer, How do you carve a wooden rose? Let’s look at some types of roses to carve.
Onlay – Rose Drop
A drop onlay of a rose flower works in locations with a drop style of ornament in a fireplace mantle, bookcase, or another vertical setting. You have the right to alternative sizing available by custom request to some manufacturers.
Carved wood decorative Onlays, are carved standard in unfinished material in the wood selected. Paint grade comes in any hardwood available. It may be off-color, but the stain grade is a uniform color and knot-free wood.
Onlay – Tudor Rose
A Tudor Rose only comes in a range of sizes and wood choices. Custom sizing is also available. These are carved in unfinished wood in the selected wood, and the paint grade can be any hardwood available. It may be off-color. Stain grade is a uniform color, knot-free wood including poplar or beech.
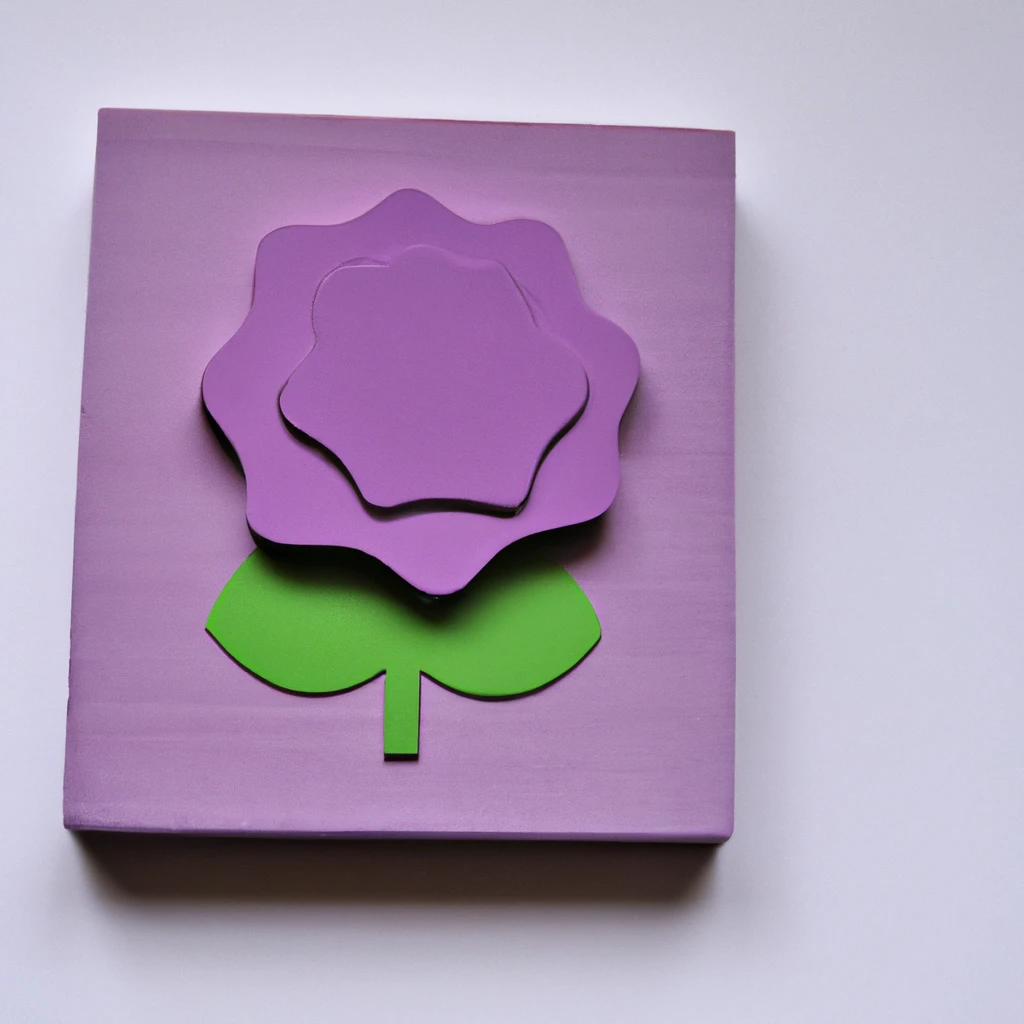
Rosette – Rose Square
The rose square flower is a squared floral rosette with a four-petal rose in the center, installed as a diamond. Sizing shows the dimension in the square view. However, the art can be sized and scaled to your preferences.
They are carved in unfinished wood and the stain grade is a uniform color, knot-free wood. It is for cabinetry, furniture accent, fireplace Mantel, and door and window casing.
Rosette – Tudor Rose
It is a rosette that features a carved Tudor Rose. It is sized to your custom requirement and carved in unfinished wood in the wood choice selected. They are for cabinetry, furniture, door and window casing.
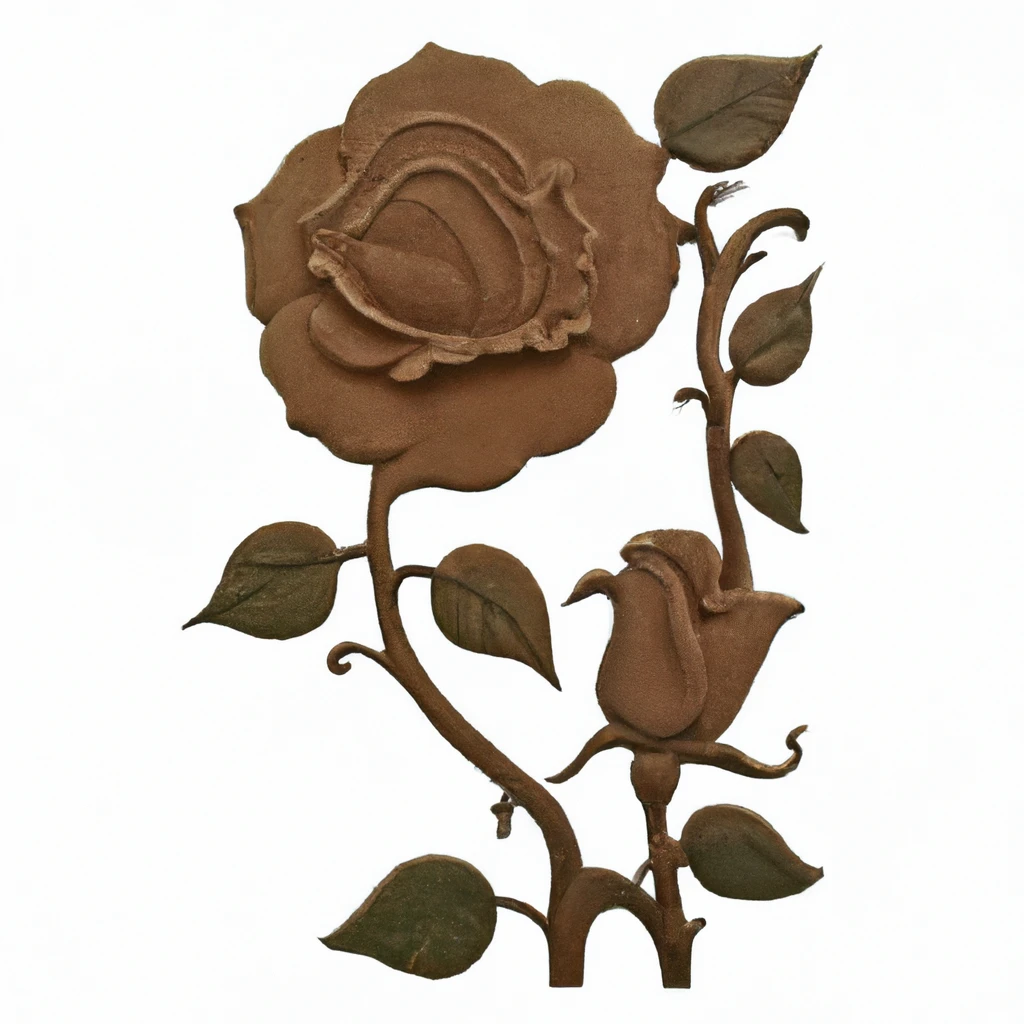
Onlay – Wide – Rose with Leaves & Buds
It is a wood-carved onlay with a triplicate rose design with leaves and buds. You can use it as a stand-alone or as repeats for wider applications to flat surfaces like a Range Hood skirt, Fireplace Mantel, or cabinet header.
Corner Block – Rose
Carved wood Corner Block is a rose flower that matches the onlays. Purchase the block per the sizes given or sized to requirements for an additional charge. The Rosettes are machines carved in unfinished material in the wood choice and dimension selected. It makes door and window trim, cabinetry and furniture accents, and fireplace mantels.
Tools to use
- Carving knife
- Block of wood
- Rose pattern
- Pen
How to carve a rose
Step 1
Sharpen your knife until it is razor-sharp for a perfect rose. A blunt knife does not produce exceptional wood flowers. The cuts are not precise enough to make a nice flower.
Step 2
Trace the outline of the rose pattern onto your block of wood with deep and dark lines. Trace guides you as you start cutting your material. Hold the paper on top of the wood to trace the inner lines and patterns and press down firmly with your pen. That allows you to break through the carbon paper. Continue until you have traced the entire rose onto the wood. Take your time as you avoid rushed work. This is important when whittling a flower.
Step 3
Grasp the wood firmly with your hand over a flat surface. Use a table or any other flat surface. Never hold the wood directly over your lap because if the knife slips, you will cut yourself.
Step 4
Examine the wood to determine which way the grains are going. Cut along the grain for precision. The cell fibers are darker at the ends, so you should carve toward the darker side. That is in a downward direction. If you carve against the grain, it results in wood splitting. Turn the wood around and carve in the opposite direction.
Step 5
Grasp the knife firmly in your stronger hand by putting four fingers on one side of the blade and your thumb on the other. Use your thumb to guide the knife along with the shape.
Step 6
Dig the knife into the wood and follow the pattern of the rose until you have carved the whole flower.
Outline of the rose pattern
- Start rose drawing with a teardrop/egg shape using a hard pencil. Use faint lines on the inner bud of the rose.
- Draw the opening of this shape and little petals inside the rose.
- Close those petals into a heart shape. You have to use the flower outline drawing of other petals.
- Connect the rose flower outline drawing with the rest of the bud, creating a petal shape.
- Attach another heart shape to the bud of your rose flower drawing.
- Draw another heart shape but make it less regular and more open.
- Make one petal, and the rest should be realistic, allowing them to bend more and more down.
- Press harder over the lines you want to see better for the final shape.
- Take a softer pencil and shade the inner parts of the rose flower drawing. Draw lightly and press harder for a darker shade.
- Use the pencil to stress some edges of the petals. Do not draw all over them.
- Add a subtle texture to the illuminated parts using the pencil. The darker your rose, the darker you can go there.
- Use a soft pencil and finish shading your rose drawing.
Transferring the pattern
- Use a heat transfer pencil to transfer your pattern onto your material. Print out the design pattern, hold the paper up to a window with the design facing the window.
- Use the pencil to trace the lines and your iron to transfer onto fabric, wood, or poster board.
- Print out the pattern and lay a piece of carbon paper between the design pattern and the carbon paper or wood you wish to transfer onto.
- Trace the lines. Do not trace on a fabric.
- Print out the pattern on an iron-on transfer printer paper.
- Trim excess paper about 1 inch from the design and iron on the design.
- Transfer onto fabric, wood, or poster board.
Use a sharp knife
A sharp knife does a better cutting to wood. It allows you to work faster and safer and need less force to cut than dull knives. The chances are low that it damages the wood, which you can see by looking closely at the cut. We have covered how to relief carve a rose. The knife is half the job!
Choosing a finish
Lacquer makes a good finish for wood roses. It is popular in professional woodwork. The balance between beauty, protective qualities, and ease of application and care separates it from the rest of the finish.
You can still use any other finish but consider the type of wood you are working on and the overall look you would want on your rose.

- Grain and Sheen: Teak Oil versus Danish Oil Uncovered - January 10, 2024
- The Cherry on Top: Crafting the Perfect Cutting Board - January 9, 2024
- Polyurethane Water-Based vs Oil-Based: Choosing the Right Finish - January 8, 2024
