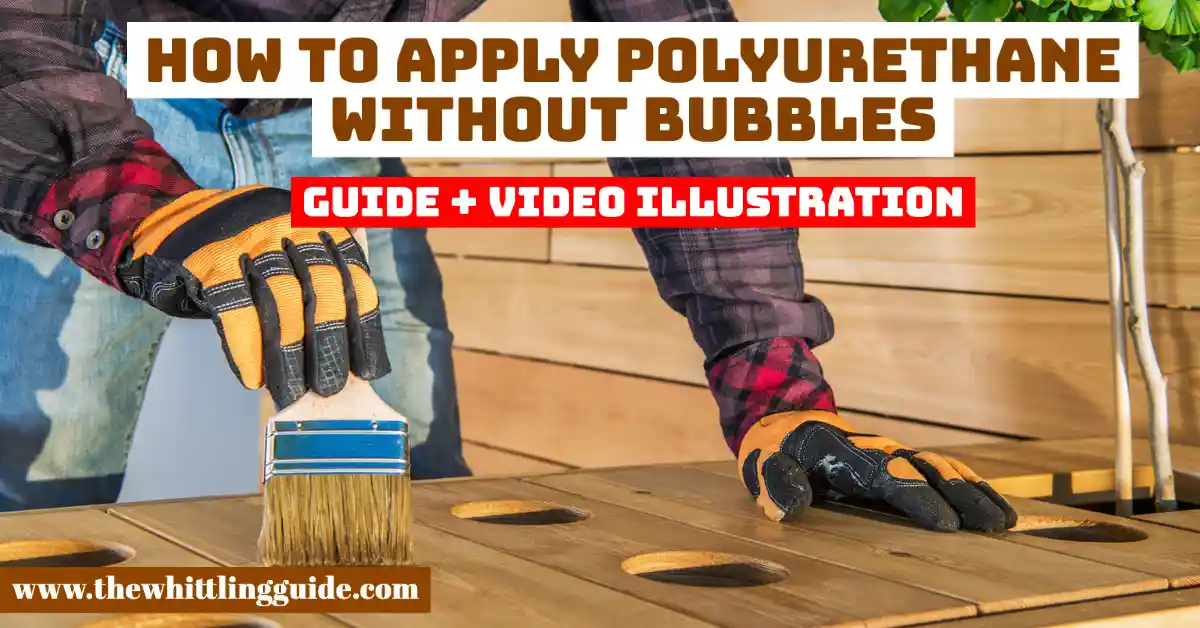
How to roll polyurethane without bubbles
Use a synthetic brush for bubbles. Synthetic brushes have bristles made with synthetic material that gives better application. To apply polyurethane without bubbles, avoid using a natural brush as you apply polyurethane.
They come in a wide range of sizes as they match various small and big projects.
Synthetic brushes do not absorb polyurethane during use. Use water on the polyurethane brush to dampen it for a smooth and flawless application. Do not shake up the can since that creates bubbles. Instead, stir the polyurethane.
What causes bubbles
Shaking the gallon
When you want to take your juice, it is thicker at the bottom hence the need to shake first. The polyurethane mixture comes in that form before use since it has been in the shop for a while after production.
The first thing you might think of as a user is to shake the gallon for a well-mixed chemical. You are allowed to shake spray paint, not water-based polyurethane. Shaking is not permitted on woodworking or painting products.
Stirring prevents bubbles and shaking forms bubbles on top of the polyurethane. The moment you dip in your brush, it takes up the bubbles and leaves them on the painting surface, and they dry just like that.
Leaving air on the brush
There are air pockets in your brush that cause bubbles when applying polyurethane. To avoid air on your polyurethane brush, dampen it with water under the sink. Soaking them will not affect your task. However, you need to remove dripping water using your hands before use.
All the bristles must be wet, gliding well on the surface as they stick together. When your polyurethane is oil-based, dampen your brush using a solvent-based product, but when it is water-based, water does the trick.
If you choose to use solvent-based products on water polyurethane, you will deal with bubbles only, but more problems come with such a move. The finish will not be flawless. Please do not use a roller since it creates bubbles.
Contaminated surfaces
Contaminated surfaces make polyurethane act funny as you apply it on the surface. Sand down your projects to the extent that they look like bare wood, or strip them down. That is the initial stage of the project.
Deep cleaning gets rid of dust and dirt. Use mineral spirits when cleaning. Mineral spirits are also solvent-based products, and they clean the surface well. As soon as you finish using the spirits, they evaporate instantly. Before you start using the polyurethane, make sure the spirits dry.
Use Shellac
Using Shellac first prevents bubbles on your surfaces. Make sure there is no contamination before applying the polyurethane. Shellac seals anything underneath, and that does not allow bubbles to show. Apply Shellac and make sure it dries first before polyurethane. Shellac stops your product from bleeding as well.
How to apply polyurethane
Tools
- Sanding block
- Shop vacuum
Materials
- Lint-free cloth
- Mineral spirits
- Oil-based polyurethane
- Sandpaper
- Tack cloth
- Wet/dry sandpaper
- Automotive rubbing and polishing compound
Steps
- Sand the surface
- Remove dust
- Seal the surface
- Apply first coat
- Remove bumps
- Wet sand the first coat
- Apply the second coat
- For more coats, repeat the process
Bubbles in Fresh finish
Wiping the brush along the side of the can creates bubbles. It brings bubbles inside the mixture in the gallon. Take your project brush to the surface to start the process as it transfers the bubbles to the surface.
Dab the bubbles with the tip of the brush and run the project brush along the surface. By doing so, you are flattening the bubbles, and they disappear into the finish. You still have the chance to get rid of the bubbles while the polyurethane is still fresh.
Bubbles in a hard finish
There are chances that you will not notice the bubbles when the finish is still wet. That means the bubbles are hardened together with the rest of the finish. The chances of failing to see bubbles happen to users who use the finished applicator aggressively. They continue to complete the project without monitoring the outcome. Another coat covers the bubbles, but if it fails, you try other methods.
How to remove bubbles from dried polyurethane
Use steel wool
Start by using the 0000 as you try to rub the dry bubbles. Steel wool is graded in 0s and 0000 as the flexible and ultra-fine grade. It gives you a polish and cleans delicate surfaces (Source). Steel wool is so fine that it rubs bubbles with ease.
There will not be a trace of scratches, and the surfaces will become glossy. There is a need to buff out the whole surface to match if you are not giving the wood surface an additional coat. If the 0000 does not yield satisfactory results, try going down to 000 or 00 steel wool. Work on a smaller patch before you try out the whole surface.
Use a sander
Sanding the surface can be the answer to rubbing off polyurethane bubbles. High grit sandpaper, such as the 400, is the ideal tool for bubbles. It polishes off your work surface as it sand off the bubbles.
Choose to sand the bubbled area to match the surface or sand the whole surface since that almost removes the affected area. Use an electric sander, and there are multiple models, such as a random orbital sander.
Sanding is riskier than the methods mentioned. Be careful as you sand off the bubbles. You will lose the entire surface only when you want to lose the bubbles.
Washable sponges bring less damage to the surface. Do not wet them but look for high-quality sanding sponges. A high grit sanding sponge ensures safety in removing the bubbles. Softer sponges perform better than hard ones.
Starting all over
If the bubbles are bad, starting over again might be the best way to get rid of the bubbles. You may have tried the above methods, and they did not work, and the option might be to remove the entire layer and re-start the process.
Starting over again protects your surface more than sanding since the chances are high that you will damage your project surface. Poor quality sanders and hard ones damage the bubbled polyurethane surface.
As you start again, working on affected areas saves time and reduces the chances of bringing more damage to the surface. Staining or painting the affected area can be the best option if you cover the bubbles. Starting again can be draining, but it is worth it.
Thinning polyurethane
When polyurethane is still inside the gallon, it is thick and hard. That makes applying hard, and the chances of using the product without making bubbles are high. Although manufacturers advise users to run with the one-coat idea, there is a need for more coats for durability and effectiveness.
Thicker surfaces have multiple layers of protection and are a product of numerous, thinner coats. A second coat hides the bubbles just in case of bubbles from the first coat. The question remains, how do you then the product?
Mix the polyurethane mixture with solvents on a 3:1 ratio. Three parts represent the polyurethane, and one part, is the solvent. The solvents are mineral spirits used on both oil and water-based polyurethane. Thinning is a process that reduces the thickness of polyurethane.

- Grain and Sheen: Teak Oil versus Danish Oil Uncovered - January 10, 2024
- The Cherry on Top: Crafting the Perfect Cutting Board - January 9, 2024
- Polyurethane Water-Based vs Oil-Based: Choosing the Right Finish - January 8, 2024