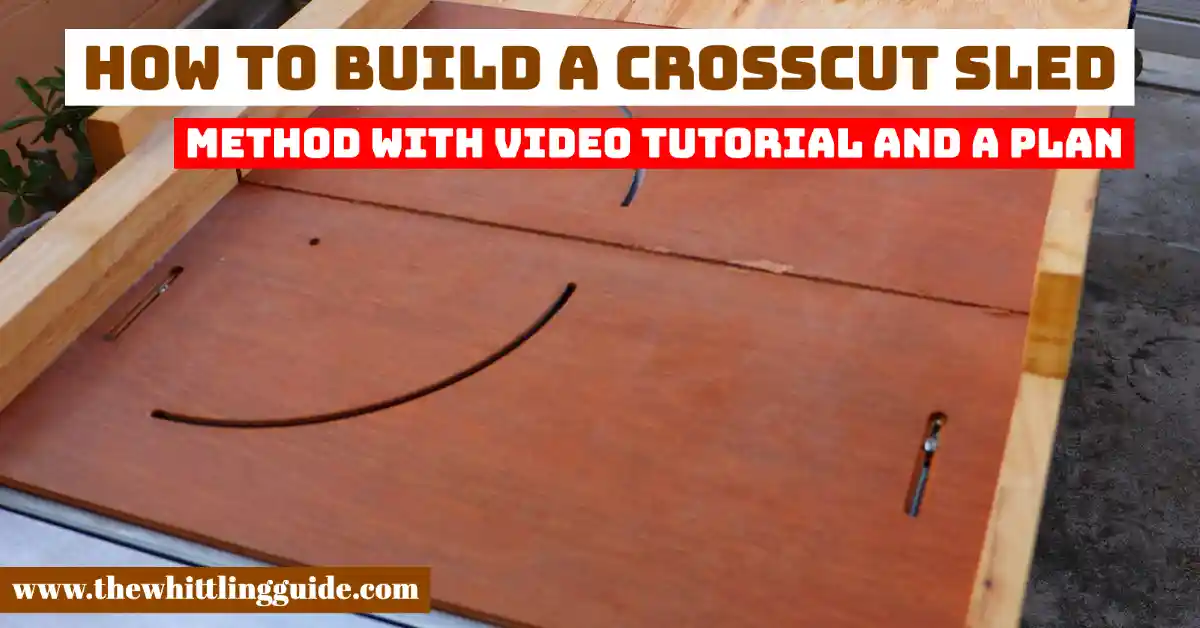
You probably have a table saw, but you may not have a crosscut sled. A crosscut sled is a precision-made sled for your table saw—it is essential for accurate crosscuts and dados. Most sleds are either homemade or purchased separately, but building one is quite easy. This article describes how to build a precision crosscut sled for your table saw—a sled that, with a little practice, will make accurate crosscuts a breeze.
How to measure your table saw.
When you want to measure your table saw, use the tape measure. Measure the distance from the fence to the close edge of the saw blade tooth. You choose the saw blade tooth from the left or the right side.
Measure the edge and account for the amount of wood the blade cuts during the process. The distance represents the more significant piece of wood pressing between the saw blade and the throat.
Choosing the suitable wood for your sled
If you have a wood sled, you need to run tests to choose the wood for your sled. The types of wood are softwood and hardwood. The names are self-explanatory. High-quality sleds are stable and durable, making them appropriate for hardwood. Longer runners are not difficult to run on high-quality sleds.
The type of fence determines the wood on the sled. There is no specific wood that is right for your sled. However, plywood is more universal than some wood. It is flexible for storage, and it is vital. Higher quality plywood is reliable.
MDF is another wood that works better with a sled since it is reliable. It is flat and smooth, and that is ideal for the base. The base needs ½ inch material since it has to be thin and light. You are allowed to increase the maximum height of the material.
Wood size matters when operating your sled. It does not have to be too big or too small. Maple is ideal for your sled. It makes a nice fence and requires a jointer and a planner. I do not recommend softwoods since they do not last. Softwood tends to warp.
Cutting and gluing the pieces of your sled
The cutting process involves cutting your base to the appropriate size. You must know the size that works for you and your table saw. The fence piece has to be oversized since you trim to the final size after adding glue. You need three pieces of ¾ ply for the lamination process. As you laminate them together, you will be creating the front fence.
The glue attaches the fences as you add them to both sides. Put them together as you line them up, and add a nail into each corner. The brad nails secure the boards from sliding during the drying period of the glue. They keep the fences aligned till the glue dries up. Use a level as a straight edge to keep the boards flat. Repeat the process for the smaller fence.
Joinery methods
Butt joint
The method involves joining one piece of the wood butt into another. They meet at a right angle and use fasteners. It is perfect for wall framing on construction sites.
Mitered butt joint
Unlike the butt joint, the mitered butt joint makes the boards join at an angle rather than a square. The mitered butt joint does not show end grains.
Half-lap joint
Half of the two boards being joined I removed to join them together. However, this method is weaker as it weakens the strength of the two adjoining boards.
Biscuit joint
It involves cutting slots and using beechwood wafers to hold the boards. It is ideal for making tabletops. It is consistent and reliable.
Material
- There should be a base, two runners, and two supports at sled ends.
- 50 x 50cm 1cm thick plywood or a sheet of material for sled base
- Wood screws and glue. These attach pieces and secure them. It needs more than 20 minutes to dry. Pay attention to excess wood glue. It has to be off the runners’ edges and the base’s bottom. Clean out the glue that goes into the slots of the table saw. The wood glue and screws are stiffeners to the front edge of the tool base.
- Runners. Two pieces of wood for runner cuts are enough. The runners have to be the same size and should fit the miter slots. They have to be slightly below the surface of the table. Put some washers underneath the runners to raise the runners above the surface.
- Two pieces of wood for sled front and back fences
Tools
- Table saw
- Drill
- Bits
- Screwdriver.
Process
Gather your materials as you prepare to build your crosscut led. The base, runners, and two supports at the sled ends are among the materials. Cut the strips of plywood used for the stiffener, blade cover, and front fence. The plywood should have smooth surfaces. They must be ¼ inch wide and 12 inches longer than the finished size. That leaves room for trimming edges.
Cut your runners in the same size to fit into the miter slots perfectly. Runners come from strips of hardwood. They have to be thinner than the depth of the slot. Move them a bit below so they come below the table’s surface. Washers are put under the runners to raise them above the table surface. You check the sled by sliding it back and forth. If the sled is not sliding smoothly, you must check the runners.
You have to add stop blocks to prevent the blade from cutting through the blade cover. The saw block has to be at the bottom of the sled. Carriage bolts attach stop blocks to the table saw bed. Add wood glue onto the surface and put the plywood piece on top.
Use the table saw fence to square the material. You square the saw fence with the blade. Raise the saw blade and press the square against it. Adjust the squares if they are not perfect. Put some weight on the plywood and leave the material for an hour.
After an hour, check the glue if it is dry and screw the runners with screws.
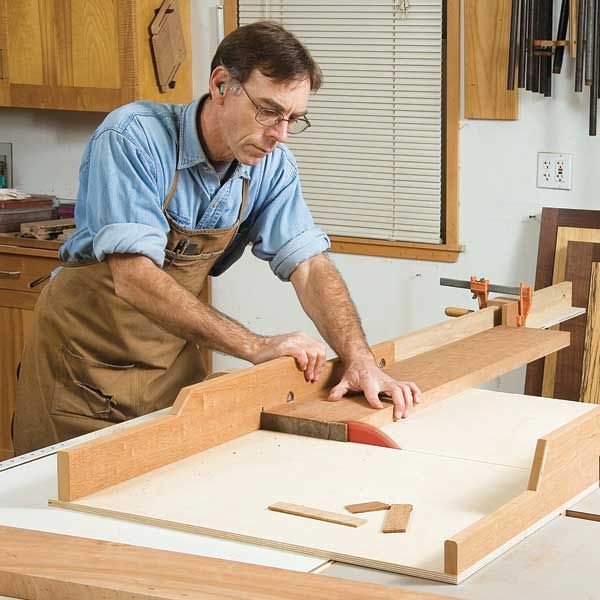
Attach the back fence and cut it in the center. Make sure it holds the sled together.
Attach the front fence by screwing one wood screwing one corner, and the other on the opposite side. Check and measure the plywood if it is square and align the front fence with a base edge. The fence has to be parallel to the table saw blade.
Raise the table saw blade and slowly cut along with the sled. When removing the sled, turn off the table saw. Make the squareness for precision. If there is a need for adjustments, do not hesitate to make them. The fence has to be pre-drilled, and you screw it to its place.
See our comparison of the Crosscut Sled vs Miter Saw.
FAQs
How do I secure the fence?
Glue and nail the fence to the edge of the plywood.
How do I make a sled slide smoothly?
You’ll use three pennies as spacers to make your sled slide smoothly.
What is a crosscut sled?
A table saw equipped with a crosscut sled is more accurate and allows you to crosscut material up to 2 ft. wide, depending on the size of your saw’s table.
How do I get the strip to glide smoothly?
If the strip’s too wide, you’ll have to hand-sand the edge a bit until you get it to glide smoothly.
How do I smooth the curves?
Smooth the curves with a belt sander.
What are the benefits of a table saw?
Table saws are great for ripping boards (cutting along the grain), but crosscutting wood (across the grain) can be more challenging.
What is a rip cut?
You will use a typical rip cut to make a board narrower along its length.
What should I do when ripping?
Using a push stick or a push block ( Like the GRR-RIPPER! ) to advance the board through the blade is necessary to keep your fingers safe when ripping.
What is a crosscut sled?
I feel that a crosscut sled is an essential jig to have for any table saw.
How do you rip the runners?
I ripped the runners using 1/4″ (6mm) plywood.
How do I secure the sled?
The rear fence is used to help hold the sled together.
What was the result of this?
I clamped a steel level to the glued-up fence to force it into alignment.
What’s the gauge on a table saw?
The miter gauge that comes with the saw is supposed to handle crosscuts but is usually inadequate for many reasons.

- Grain and Sheen: Teak Oil versus Danish Oil Uncovered - January 10, 2024
- The Cherry on Top: Crafting the Perfect Cutting Board - January 9, 2024
- Polyurethane Water-Based vs Oil-Based: Choosing the Right Finish - January 8, 2024
