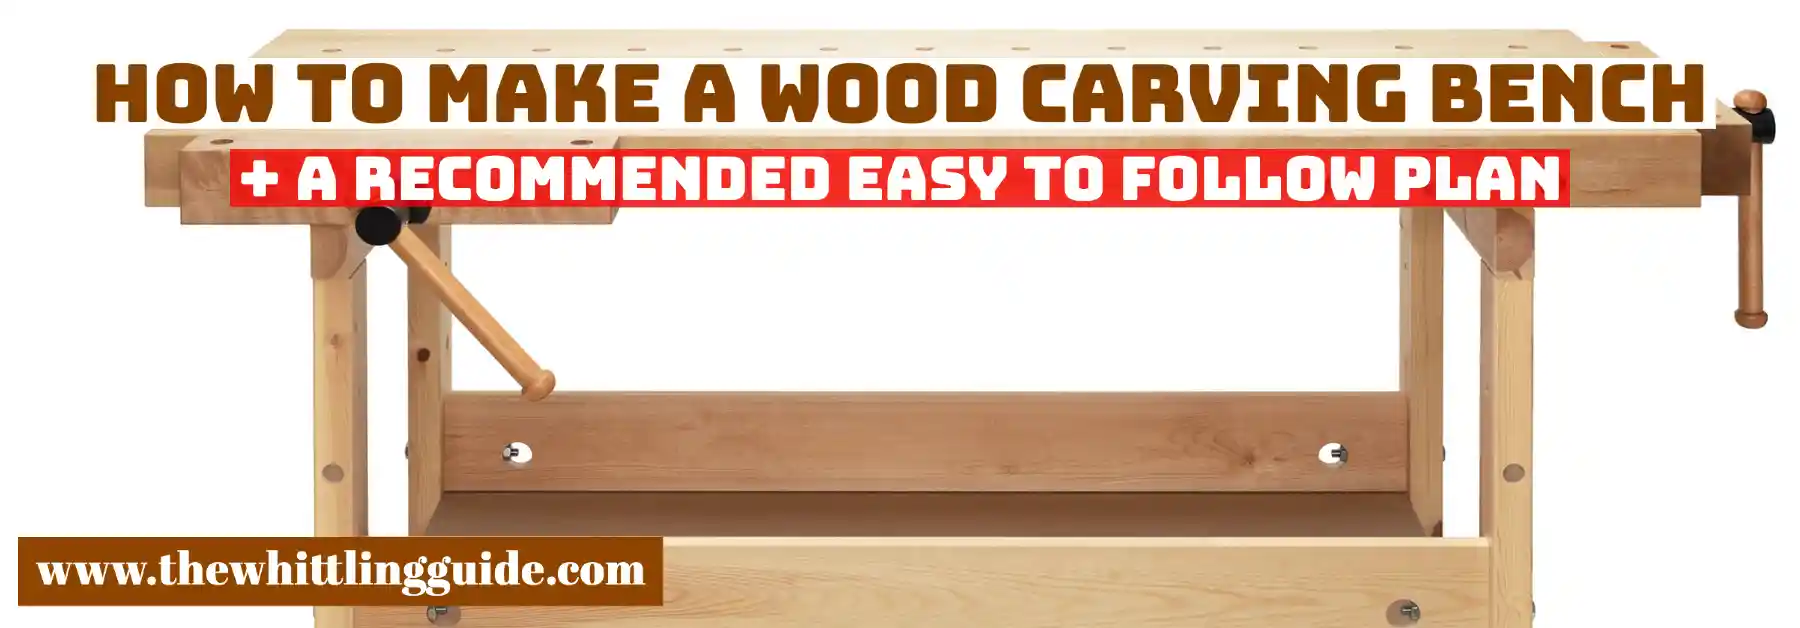
Making a woodcarving bench
Did you know that you can build a wood carving bench with just a few tools and little expense? And is it possible to build this versatile centerpiece for your home without spending much money? With a little time and effort, you can build a bench that matches your decor and gives you a place to relax and enjoy the beauty of nature. In this article, you will learn the steps necessary to build your carving bench and get some tips and tricks.
Materials you need to make the bench
Wood
Tools to Use
Saw
As soon as you collect your raw wood, look for a saw so that you start cutting the wooden planks to size. Even when you get ready-made planks, you might need to cut them if they are significant. An electric saw cuts the materials faster than a manual saw. That allows you to make a perfect-sized bench of your choice.
Drill
The project either uses a power or hand drill. There are two types of drills: hand drill and power drill. Hands down when using a power drill, and a hand drill requires the user to move the tool. Power tools take less time to complete a project, whereas hand tools take more time. Dremel drills are faster and lighter. It is only about what makes you feel comfortable.
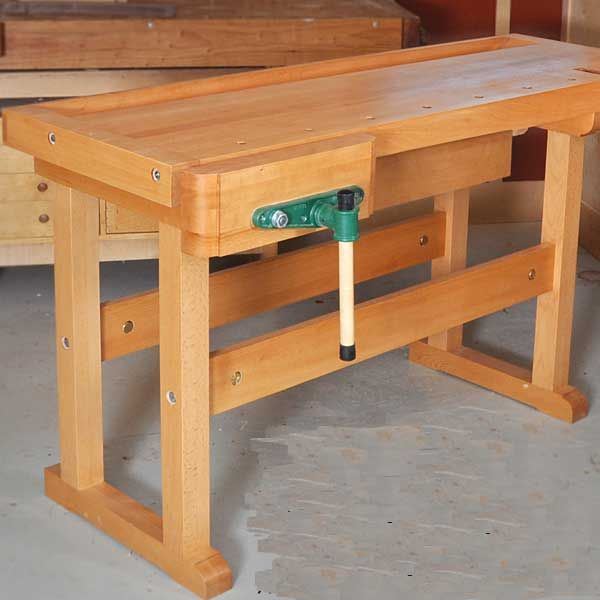
Vice
There are multiple options of vice tools on the market. There is the front vice and the side vice. Since both rotary tools keep your carving secure while you work on your project, compare their characteristics to take the one that serves your interests better.
Hand plane
A hand plane makes wood edges and corners even. It is accurate and easy to use. It helps you get to know your wood and gives your wood carving bench a better finish. Multiple features make up the wood that you need to know.
It is about the feel and workability of different types of wood. These include grain patterns and internal stress patterns. Know how to make each feature work its best in your projects and how it is supposed to move. The more you use the plane, the more you know wood better.
Screws
Screws are essential in the making of a wood carving bench. Even when you intend to use glue, the screws are still needed. Screws secure boards and help build the workbench; there are multiple types of screws. These include the desk screws and exterior and interior screws. Bring the best use of these screws as you use them according to your project requirements.
Drill
A drill makes holes for bench dogs, and it helps in the addition of the vise. Match the hole markings before you drill the holes. The Dremel drill is fast and efficient. It is of high-speed steel, and removing the material leaves a smooth surface on the carving. It also comes with optimal precision and detailing.
Tape measure
A tape measure gives the user accurate measurements of the board and other necessary parts.
Pencil
A trusty pencil is a necessity in wood carving projects. It helps you mark the wood for cutting. You can make sketches before making permanent marks on the wood. The markings guide you as you follow the drawing while cutting the wood.
Carpenter’s Square
The carpenter’s square gives you a leveled work surface. The entire bench is level as well.
How to make a wood carving bench
Pick the kind of wood you need to build the wood carving bench. A good selection of wood that serves your interests is the ideal one. Gather your tools, these include screws, tape measure, drill, and hand plane.
Use a large piece of wood as your tabletop. Shave and plane the wood and cut the boards into your desired size—drill holes as you add the vise and secure it with screws. Find the maximum height of your workbench using your height and the kind of project you are running. A tilting wood carving table provides comfort as you work on your bench.
Taking Measurements
Before working on the bench, take your measurements to have enough material. The tape measure gives you accurate measurements in both measuring and cutting. Measure the height, width, and thickness of the wood.
The standard measurement of the bench’s height is 39inches. It accommodates users with a 5,9 to 6.2-inch height. The workbench of such measurements works with a 3-inch thickness of wood. That makes it safe and firm. Bear in mind that the sizes depend on your available space and your bench’s style.
Cutting the Stock
Once the wood is measured, and the tools set, cut the wood following the sketched lines. That is to achieve the required length for the project. Cut the wood for the frame and the tabletop. If you have ready-made planks, you can still cut them. If you are using one piece of wood, cut the area where the vise has to be.
Milling the wood
Milling the wood involves a process whereby it is into lumber. That makes it ready for use since it is into the proper measurements needed for the project. Follow the cutting measurements sketched using a tape measure. The wood becomes ready for installation.
How to make the frame
When cutting the wood pieces to the proper length of your choice, you assemble the frame. Assemble the frame by aligning the legs and supporting the pieces. Screw them together using the screws. Make sure they are neither too tight nor loose. When done assembling the frame, assemble the workbench top.
How to make the legs
Choose a design of your choice that matches the workbench. Prepare the wood and make sure you have enough thickness on your wood. Follow the line of the grain to smooth out knots. Make the wood even and cut it to your size—Mark with a pencil where you want to make a carving. Smooth down the legs into your shape and file the wood. Varnish the legs and let the legs dry.
Conclusion
There are several techniques to build a carving bench. We have presented some of them, including the easy-to-follow instructions in the plan. You should also see Our Favourite Wood Project Planner get everything set on the right track.
Video Tutorials

- Grain and Sheen: Teak Oil versus Danish Oil Uncovered - January 10, 2024
- The Cherry on Top: Crafting the Perfect Cutting Board - January 9, 2024
- Polyurethane Water-Based vs Oil-Based: Choosing the Right Finish - January 8, 2024