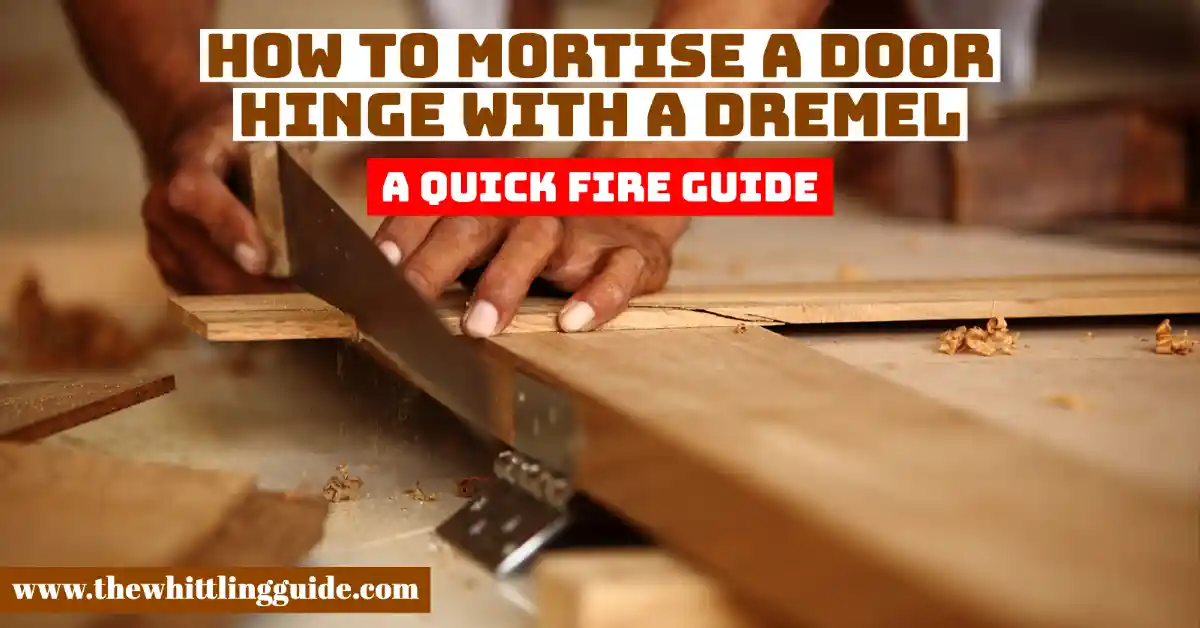
How to cut door hinges with a Dremel
Mortising a door hinge is simple and can be done with a Dremel and a jigsaw. The jigsaw is preferred for this type of work because it can cut inward and outward simultaneously and is easier to control than a Dremel. Once the door hinge is cut out, cleaning up the cut edges with the Dremel is a breeze. Let us look at how to cut out a door hinge with a Dremel.
What is a mortise hinge?
A mortise hinge is a hinge that rests on the plate or mortise in the door frame. The door surface covers the hinge, is smooth, and allows a broader door opening angle. The hinge is made of carbon steel or stainless steel. The mortise hinge offers you a lot of conveniences.
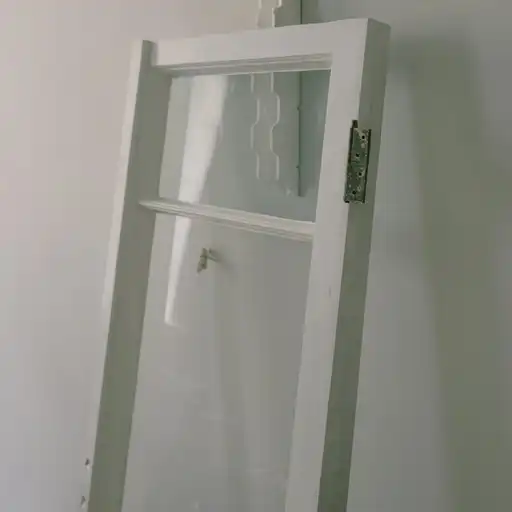
There are half and full mortise models. Full mortise hinges are popular, and the leaves that come with the hinge lie on the door plate or the door. One visible hinge leaf is mounted onto the door frame when using a half mortise.
The other leaf is attached to the face of the door. There is no need to make cuts into the steel when your frame door has mortise hinges. They are easy to install and ideal for a rigid mounting option. They can be mounted on either the door’s right or left side.
When you have heavy traffic entrances and heavy-weight doors, mortise hinges make your door user-friendly. That makes the doors ideal for industrial, medical, and commercial facilities. Stainless steel hinges are resistant to corrosion.
They have corrosion-resistant properties that suit marine environments. The hinges are in both standard and heavy-duty models. Choose one depending on the location and use.
What RPM to run it at
An average tool runs at 1500rpm, meaning any cutting tool less than that brings ineffectiveness. Although the type of material determines speed, higher rpm brings high performance, making the tool more robust, durable, and energy-efficient.
Positioning the hinge
What determines the position of the hinges is the movement of the door. If the door swings inward leading to the room, the side of the hinge is on the inside of the door. When the door frame has been mortised, use the mentioned placement pattern.
Mark the hinge placement on the door by placing the door on its side. The handle has to face the floor. Use a measuring tape to mark the on-center placement of the hinges. Allow the hinge to drop open so that one side of the hinge hangs down. The other end has to rest on the side of the door. Mark around the hinge using a pencil. A screw also
Sanding the hinge hole
Make sure that the surface is clean. Remove grease and old paint from the hinge using a toothbrush. Dip the hinge in hot water to remove stubborn stains. Allow the hinge to dry using a towel. Remove grease and dirt from the screws as well.
Sand the hinges and screw heads using a medium-grit sanding pad. Take off the sanding dust using a damp cloth. Leave the hinges on a piece of the clean table in a ventilated area. Leave adequate space between each hinge for spraying the edges.
Mortising the hinge
Put a hinge on the spine of the door. It has to be in line with the pencil line. Use your utility knife to Trace the three-sided outline in the wood using a utility knife. Fix the housings of the door hinge using a Dremel. Please turn it on and push it down until the bit is fully inserted into the hinge.
Step 1
The door has to lay on its side, and the side receives hinges facing upward. Mark the hinge position on the door using a marker. Measure six inches from the top of the door with a measuring tape as you mark with a pencil.
Make a straight line perpendicular to the spine of the door as you rest the set square in line with your mark. The measurement has to be 9inches away from the bottom of the door. Draw a straight line perpendicular to the spine using a set square and a stencil. The smaller panels represent the top of the door when installing a panel door.
Step 2
Prepare the wood for routing. You should have chosen the wood you want to use at this stage. One of the hinges has to be on the door’s spine so that the top end goes in line with the pencil line. Allow the hinge to rest folded over the edge of the door.
It serves as an axis for opening. Hold the hinge firmly and trace the three-sided outline into the wood using the utility knife. Keep the blade close to the hinge and make three passes as you put pressure on the blade.
Step 3
Make the hinges’ outlines darker, using a pencil over the blade’s cuts. You easily identify the hinge’s outlines when using the router.
Step 4
Prepare for routing. Open the Dremel’s spindle and insert a bit. Make sure the spindle is tight. Use a Dremel wrench for tightening. Attach a plunge router body to the Dremel. Measure the width of the hinges you are using with the tape measure and loosen the knob that controls the height of the router bit until the bit has a cutting depth equal to the width of your hinges.
Step 5
The Dremel is now ready to start. The Dremel routes the hinges’ housings and position. The plunge router body should be over the hinge area. Please switch it on and push the body down until the bit is entirely inserted into the hinge area.
Follow the outline made using your pencil as you route. Take out the wood inside the outline. When done, switch off the router and remove the dust and remaining chips. Try out the hinges as you fit. When the hinge sits with sturdiness, stop routing. If you have many hinges to work on, repeat the process.
Step 6
As you finish off the task, secure the hinges. Insert the hinges in their housings and screw them using an electric screwdriver. Use the screws that come with the hinge set. Start with the central screw as you hold the corners of the hinge in place. That helps you maintain the square positioning.
Installing the hinge
Trace the perimeter of the hinge and mark the part of the screw holes. What follows after the marking is cutting the hinge to size? Cutting the hinge to size will give you the desired size. The thickness of the hinge is essential so that it fits squarely to the cabinet wall. This process requires caution as you are using a cutting tool. You should also check How to Carve Gourds with a Dremel.

- Grain and Sheen: Teak Oil versus Danish Oil Uncovered - January 10, 2024
- The Cherry on Top: Crafting the Perfect Cutting Board - January 9, 2024
- Polyurethane Water-Based vs Oil-Based: Choosing the Right Finish - January 8, 2024
