Sharpen drill bits with Dremel
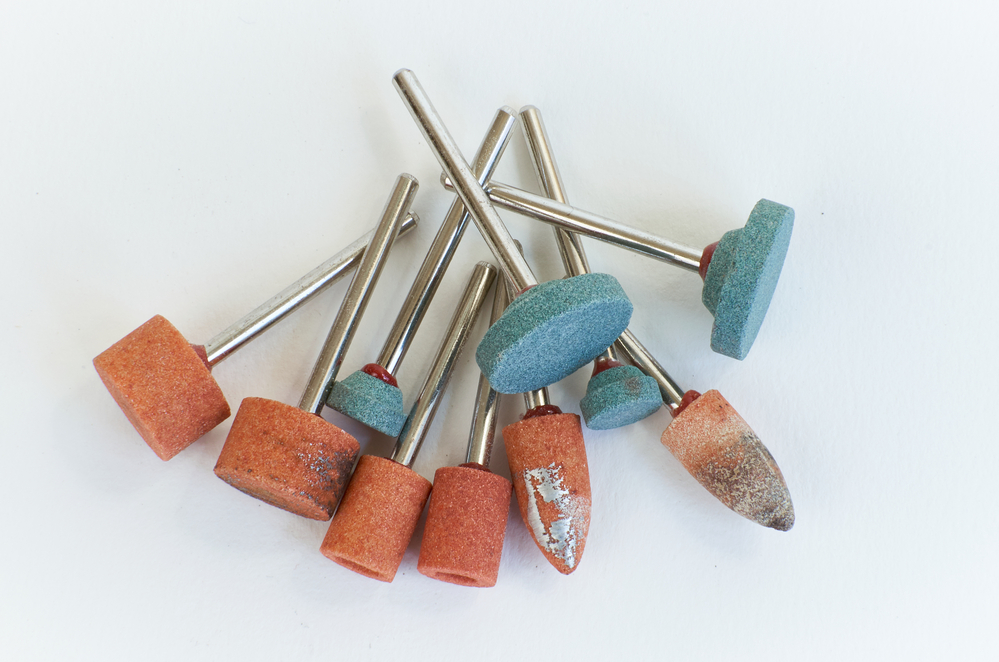
It works better with a circular barrel sandpaper tooltip in the spare parts kit. It comes in various grades, and Dremel works better with a finer grit, like 200-grit sandpaper with the highest speed setting.
A flat disk or a round stone substitutes the barrel fitting that sharpens your drill bit. Use a Dremel for 1/2 inch or lower drill bits to avoid a long duration sharpening them.
Take a bench vise to clamp your drill bit tightly and use a Dremel to grind away the drill bit’s tip. That gives you a nice sharp, cutting edge. Run the process on both sides of the flutes and keep your angles identical on both sides.
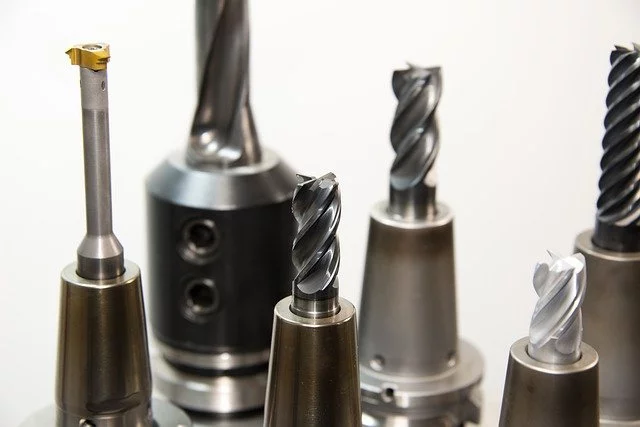
Choose the correct Dremel bit
Speed matters since there are feature strategies that make up the speed. When choosing the correct Dremel bit, you have to look at characteristics. That is the lip, land, and chisel, and the lip cuts your item.
There are two lips on the symmetric twist drill. It works when doing an equal cutting while drilling. When one lip is sharper than the other, cutting is on one side of the bit. It does not make straight holes.
The land supports the sharp edge made by the lip. The bit cuts, and the landing are angled, leaving clearance between the drilled area and the lip. An overly wide-angle leads to a lack of support from the lip, and that causes the bit to chip more. That affects corners more.
The chisel is a line made when landing from both sides of the twist drill intersect. There is no cutting that takes place in this area. The chisel smears down the material you are drilling into the lips while drilling into your workpiece.
Know the size and depth of the hole you are drilling before you pick a drill bit. Make pilot holes to prevent the wood from splitting. The diameter of the pilot hole is the same as the screw without threads.
Threading makes you aware of the size of the bit. Use a chart if you are not sure. Some drill bits include screwdriver bits for driving screws using the hand. They do not work on holes; twist drill bits and cut smaller holes in your material.
Start with a tiny drill bit when drilling a large hole. You should widen the hole in stages. If you start with a large bit, you will have a sloppy hole that takes longer.
Slowly rotate the drill bit
Some users think the faster the drill is rotated, the faster it cuts. Unfortunately, that is not the case. The chances are high that you will ruin your item. Even if the drill has a large diameter, you still have to rotate the drill bit slowly. Spinning faster causes friction and generates heat. Ultimately, its diameters will not cut, and excessive heat damages the tool.
Do not apply too much pressure
Since the Dremel is a power tool, there is no need to put much pressure. If you apply too much pressure, the Dremel machine will slow or groan if you push it. Too much pressure results in dull bits, which is why less pressure is required. Applying more pressure to your workpiece to quicken the drilling process will only lead to snapping.
Apply lubricant to the drill bit
Apply lubricant when done using the tool. It makes your drill bits last longer. Use WD-40, water, and oil to cool the bit as it is drilling. As your bit gets hot, it breaks down and becomes dull. If you keep it cool while drilling, it will improve the lifespan of the drill. Use water in a spray bottle. Applying a lubricant reduces friction, assists cooling and speeds up the drilling process.
There is a sudden heat build-up through friction that you should get rid of. The heat damages the drill bit or the material, and that is why you need a lubricant to avoid that. Your hold protects and increases the life of your drill bit.
Rotate the drill bit at an angle
The Dremel drill bit has to drill in the right direction, and the drill bit should face away from the user. Run the drill slowly as you pay attention to the direction the flutes of it are moving in. The clockwise motion is for cutting into the material, and the counterclockwise is for removing the bit.
The direction has to allow too early into the cut material. The other motion makes you unscrew, and you can directly on either side of the handle, which is above the trigger.
Clean the drill bit when finishedDebris scratches your bit.
- You do not have to wait for your drill bit to clog with dust and dirt so that you start cleaning the drill tool. Clean it as you work. Wipe it off after every five to ten minutes using a dry cloth. That makes it stay longer.
- The drill bit has to be cool before you start cleaning, and you will not burn your skin. Use clean and dry wood to get rid of the dirt. Wipe the drill from base to tip. When done, spin the drill bit slowly with the towel wrapped around the bit. Use a clean and dry toothbrush.
- Sometimes there is stubborn debris that does not want to come off. The toothbrush works better if the bit is still attached to the drill.
- Keep the drill lubricated with a coat of oil after wiping it down. Keep the drill bits in a cool, dry place. That is away from natural elements like the sun and water.

- Grain and Sheen: Teak Oil versus Danish Oil Uncovered - January 10, 2024
- The Cherry on Top: Crafting the Perfect Cutting Board - January 9, 2024
- Polyurethane Water-Based vs Oil-Based: Choosing the Right Finish - January 8, 2024
