How to use a wood burning tool
What is a woodburning pen?

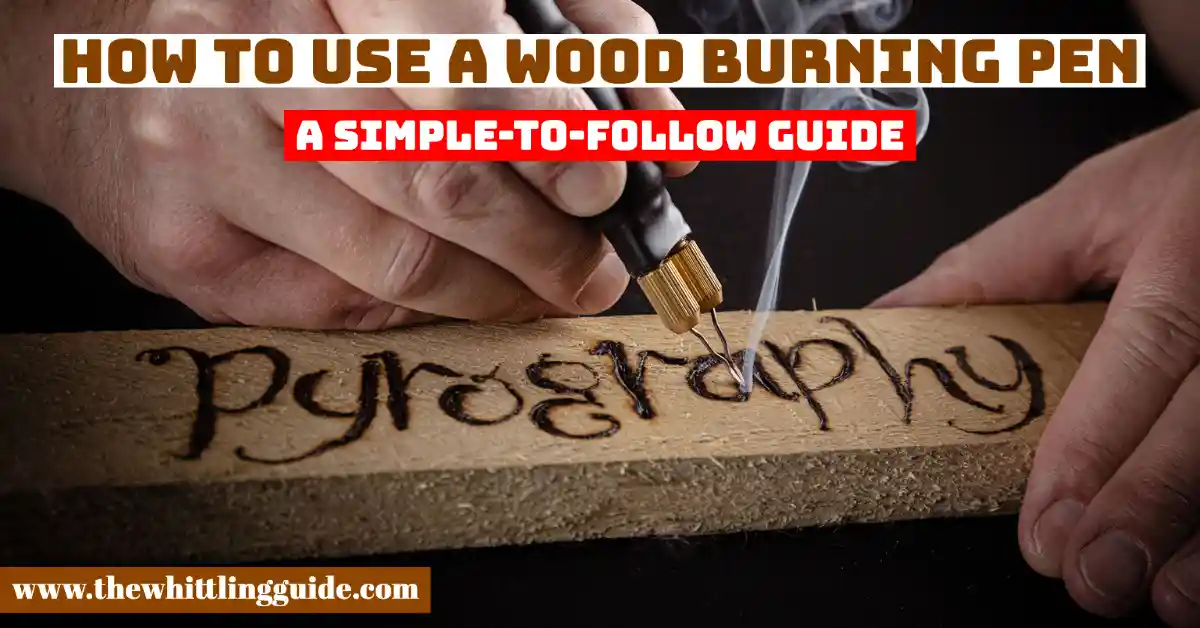
A wood-burning pen is a pen-like device with a metal end for burning wood—the heat transfers from the heating element to the removable tip. The product has models that have temperature variance.
A single kit has four to seven tips for various applications: straight lines, rounded, and shading. The wood-burning pen comes with a metal safety stand so that the pen will not sit on a table or workbench. Familiarise yourself with the tool before you start burning wood.
Use a scrap of wood to test your tool—plugin the pen, allowing heat for five minutes. Run a test on the drawing on the wood. Before you change tips, the tip should cool for 5 minutes. Be slow and steady for precision.
Familiarise yourself with multiple tips to master the wood-burning game. A rounded tip is on the left, and the shading tip is on the right. Wiping the end of the pen tip each time you use it prevents carbon accumulation.
Safety precautions have to be followed. When you have a lot of smoke, the pen is too hot. Turn down the heat and take note if there is a change. The tip gets extra hot, and you should stay away. Be aware of the hot metal end when the tool is plugged in.
The tip should not touch any other item, and use a metal stand where the pen tip rests. Use pliers when changing pen tips. The pliers should be wrapped in electrical tape since the tips stay hot for a long time.
Materials you need for wood burning
- Wood
- Wood burning pen
- Sandpaper
- Masking tape
- Graphite paper
- Eraser
- Ruler
- Mineral or olive oil (finisher).
Safety Tips
- Read all the instructions that came with your tool. They give you safety precautions to follow.
- Make sure that your tool is unplugged and cooled.
- Keep the hot tip on the metal stand when not in use.
- Place the tip gently onto the surface of the wood to start burning in your design. Avoid excess pressure so that your item does not get damaged.
- When sketching in a line, lift the wood-burning tool off the wood to avoid burning.
- If you want to change nibs, ensure the wood burner is unplugged and cooled down before touching the tip.
- Clean the wood burner nib lightly with sandpaper while wearing gloves.
Steps to using a wood-burning pen
There is a wide range of options on the Internet. Choose a design of your choice that you would like to see on your wood item. Know your skill level so you can pick designs that suit your experience. When you are sure you are past being a beginner, move into more advanced standing techniques.
When you have a design, find the size you want to use on your item. The design size has to fit the piece of wood available. Some designs look better on a small or large piece of wood. In that case, you should have what you want in mind.
Choose and prepare the wood for the project. Bear in mind the maximum temperature each would tolerate. Softwoods burn at low temp and hardwoods at high temperatures. Sand your wood as you prepare it for burning. Choose the way your grain has to go. Burning across the grain makes the process easy. Using pre-fab items makes the process easy as well.
Affix your design to the wood. Tape your cut-out design to the carbon oxide and then to the wood. A wood design is an outline meant to fit your wood. Trace your design onto the wood using a pen. After tracing, you may start burning the traced outline.
Follow the carbon line you traced onto the wood using the pen. As you follow the line, follow the grain.
Finish shading and complete the project. Use the shading tip to fill the spots. As much as you stick to your design, you are allowed to go creative. Stain the piece if you want to have a sheen look.
Using the shading tip, carefully fill in the spots that need it according to your design or creative brain. You can also stain the piece to give it a sheen and finished look.
The main components of a wood-burning pen
Tip
The tip has made contact with the wood. Different types of pen tips depend on the type of wood you are working on. The pen tip requires proper maintenance and repair when it wears or tears down.
Heating element
The heating element transfers power from the power source to the tip. It controls the amount of heat produced. It works with the regulator or temperature controls by preventing making more or less heat than needed.
Types of wood-burning pen
Get a pen that you know how to operate and execute to its full potential. There are two types of pens: solid-point burners and wire-nib burners. Knowing the types of pens and their differences helps you choose the best pen.
When choosing a wood-burning pen, consider what you want to use it for. Find out what you can do with the pen and what you cannot. What you will do more often with the tool determines the features you will be looking for.
The solid-point burner is ideal for beginners, and the wire-nib pen is for advanced users who have invested more in wood burning for a long time. That upgrade to a more industrial burning tool requires skill and experience.
The solid-point burner is a pen that requires a screw-in tip. However, some new models do not feature a non-screw tip and are kept in place by a sleeve and a nut. Extra tips differ in thread type, and you should be observant when buying one.
Solid-point burners create heat by heating an element that is inside the pen. The heat is transferred to the tip and starts operating at a fixed temperature. The tips are screwed tightly using your hand and finished off using a pair of pliers.
The wire-nib burner holds wire tips made from Nichrome wire of different gauges. Insert the pen wires into collets or hold them in place using screws tightening them. They create heat on the nibs by electric current going through them.
The differences between the two main types of wood-burning pens
The Solid-Point is more popular and affordable than the wire-nib pen. You can easily give it to someone as a gift. It looks like a soldering iron and comes with soldering tips.
The solid-point pen is bulkier than wire nibs because the heating machine is in pen. That makes it difficult to hold. The wire-nib pen has machinery attached. The solid-point burner comes with a pen, a cord, and sometimes a temperature gauge attached to the power cord. That makes it compact.
A woodburning pen with temperature controls is easy to work with. A darker burn comes with burning slowly, and a light burn attracts burning quickly. Heat control allows you to keep a comfortable speed.
Some pens have two heat settings on a switch, and others have several. However, there are some pens with a dial on the cord. Your elbow keeps rubbing it, and that compromises production.
A temperature regulator gives you control over the pen. A solid-point burner has tips that go in like a screw. Do not screw tight the pen tip since it bends when hot. It takes time to heat up. The pen has a limited number of solid-point tip styles, whereas the wire-nib tools have multiple tips.
It is easier to get the specific style you want with a wire nib instead of a solid-point burner.
The solid-point pen could be the best option if you are new and not sure you even like wood-burning yet if your budget falls under 50, and if you have the patience for the slow heat up, cool down, and overall burn time. In short, if you are a beginner on a tight budget.

- Grain and Sheen: Teak Oil versus Danish Oil Uncovered - January 10, 2024
- The Cherry on Top: Crafting the Perfect Cutting Board - January 9, 2024
- Polyurethane Water-Based vs Oil-Based: Choosing the Right Finish - January 8, 2024
