Sharpening cuticle nippers
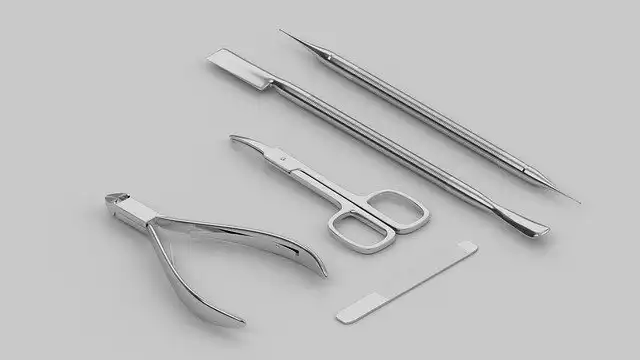
Move to the sharpening stage. The nail clipper has a flat face at the cutting edges on the front of the jaws. Grinding this flat surface will sharpen the cutting edges equally. The nipper has a convex surface that makes it easy to grind on a flat stone.
Some clippers have sharp concaves on the front of the jaws. The Dremel tool gives a fine grinding stone. Tighten the screw and the nuts you keep cutting the edges. As you continue grinding, the nicks in the cutting edges disappear.
Clean the cuticle nipper by washing and removing grit from grinding the cutting edges. The edges are close to one another. When done grinding, remove the screw and nut. Insert the pin and squeeze the jaws together as you attach the actuating lever.
Drill a hole in the side of the nipper
As you prepare using the Dremel to drill a hole in the side of the nipper, use the correct bit meant for the task. Since the nipper is of stainless steel, use a metal bit for drilling. The Dremel is ideal for drills small holes since the chuck size is small. Operate on low speed and make sure the Dremel has enough power to drill.
Place a bit in your Dremel
- Turn the Dremel tool off and disconnect it from the power supply. Wait for the bit to cool down if used recently.
- Depress the shaft lock button on the side of the Dremel tool near the end of the Dremel tool. Rotate the shaft until it locks.
- Keep the button depressed, and loosen the collet nut. The collet holds a bit with the spanner wrench given. The collet is a device located at the end of the shaft that keeps the bit in place.
- When necessary, use a different bit shank size, and remove the collet nut. Change the collet and replace the nut.
- Insert the shank of the new bit into the collet. The shank has to protrude at a minimum of 1/8 inch from the collet.
- Keep the shaft lock button depressed and tighten the collet nut using the wrench.
- Release the shaft lock button.
Apply constant pressure to the Dremel
Avoid pressing too hard with the Dremel. Touch lightly so that your Dremel tool will not stop rotating due to too much pressure. Press the Dremel tool on the cuticle nippers so it does not split. Use eight strokes for better results. Lighten the pressure and readjust the speed.
When you feel the bit stop moving, remove it.
When the bit stop moving, remove it. Remove all the parts of the tool and turn on the Dremel tool. Run the tool and detect the problem. Leave the Dremel tool for evaluation. When the Dremel tool starts running smoothly, switch it off, secure it and turn the Dremel tool.
You are good to go when the tool starts operating smoothly, with all parts in place. When you turn the Dremel tool on and it still wobbles, loosen the accessory and reset it. Several attempts and trials are necessary as you are sure the Dremel tool is balanced. More comfort and control when operating the Dremel tool gives you better results.
Dremel the blade part of the nippers
No matter how sharp your blade is, you must re-sharpen it since it gets dull with time. However, improper sharpening ruins your set of nippers. If you do not have experience using the Dremel on your nippers, try sharpening lightly from the inside.
Sharpening your nippers the wrong way will destroy your nippers. Filing the blade down too much keeps your blades uneven. Re-align the blades by filing across both blades simultaneously while the nippers are about 3/4 of an inch open.
Dremel the screw part of the nippers
Put the cutting wheel on your Dremel and cut a slot into the messed-up screw. Cut it deep enough to get a bladed screwdriver into it. Cut close to the middle to get the screw out. Avoid cutting into the wood.
Take a screwdriver and power your screw out. You are allowed to use a power driver for the same task. Use vise grips on the screw or continue with the screwdriver. Drive a new screw in and let it sit the proper way.
Install a carbide burr to remove the filler over the top of the screw. When preserving the wood, cut carefully to avoid damaging the wood.
Clean the screw head. Dremel down until you hit the screw head. Polish up the top of the screw but do not try to get the putty out of the screw slots. Tap the bit using a hammer into the screw head. It sinks into the slots, and it tightens up the bit in the slots. Add your drill to the bit and power out the screw.
How to test if your nippers are sharp
Check the cutting surface; nippers should not cling, scratch, or pull your skin around the nails. Always check the sharpness of the nipper. Sharpening increases the life of your cuticle nippers. Check on them daily.
Some changes show you the nipper requires sharpening. These include stains and color changes on the blade or any other part of the cuticle nippers. Mechanical malfunctions and deteriorated springs are also a sign.
Check the sharpness without using it on your nails, and cut through the plastic film paper. A smooth cut without tearing is a sign of sharp nippers. Grinding cuticle nippers make them sharp. You can do it yourself or take it to professionals.
There is manual and mechanical sharpening. Manual sharpening requires experience. Use magnified images to see all notches and defects on the blade. The mechanical sharpening process occurs when the instrument is made, requiring less time and effort. However, it compromises quality and reduces the life of the tool. The blades have different sharpening patterns on the blade length that you should be aware of.

- Grain and Sheen: Teak Oil versus Danish Oil Uncovered - January 10, 2024
- The Cherry on Top: Crafting the Perfect Cutting Board - January 9, 2024
- Polyurethane Water-Based vs Oil-Based: Choosing the Right Finish - January 8, 2024
